Ever felt the weight of stress building up, with no outlet to release it? Imagine transforming a forgotten corner of your home into a space where you can let go of frustration safely and creatively. A DIY smash room offers just that—a unique way to repurpose unused areas into a stress-relief haven.
Whether it’s a neglected shed, a dusty basement, or an underutilised garage, these spaces hold untapped potential. With a bit of creativity and effort, you can create a rage room tailored to your needs. This guide will walk you through the process, from assessing the location to constructing a space that meets safety and quality standards.
Beyond the practical benefits, a DIY rage room provides a therapeutic escape. It’s a place where you can channel anger and frustration into something productive, all while enjoying the satisfaction of a hands-on project. Ready to unlock the potential of your unused space? Let’s get started.
Key Takeaways
- Repurpose unused spaces like sheds or basements into stress-relief zones.
- Follow step-by-step instructions to ensure safety and quality.
- Enjoy the therapeutic benefits of a personalised rage room.
- Transform your home creatively while enhancing its functionality.
- Ensure your project meets local safety regulations and standards.
Introduction
Feeling overwhelmed by daily pressures? A DIY smash room could be your solution. This guide is designed for UK residents looking to transform unused spaces into a therapeutic escape. Whether you’re dealing with stress, anger, or simply need a creative outlet, a rage room offers a unique way to release tension safely.
Creating a dedicated space for cathartic release has numerous benefits. It allows you to channel negative emotions into something productive, reducing stress and improving mental well-being. With proper planning, even a small area can become a functional and enjoyable space.
This article serves as a comprehensive guide to help you through every step of the project. From assessing your space to ensuring safety, we’ll cover everything you need to know. By the end, you’ll have a clear roadmap to create your own rage room tailored to your needs.
For more inspiration and tips, explore our rage room services. Let’s dive into the process and unlock the potential of your unused space.
Assessing Unused Spaces for Your Smash Room
Looking for a unique way to repurpose a forgotten corner of your home? The first step in creating your DIY smash room is identifying the right space. Not every area is suitable, so careful assessment is key.
Start by evaluating the available area in your home. Basements, garages, and sheds are often ideal due to their isolation from high-traffic zones. Ensure the location is durable enough to handle physical stress and damage.
Measure the dimensions of the potential space accurately. A room that’s too small may limit your activities, while one that’s too large could be inefficient. Use a tape measure to record the length, width, and height.
Check the building’s condition. Look for signs of wear, such as cracks or leaks, and ensure the structure is solid. A well-maintained basement or garage will provide a safer and more long-lasting environment.
Finally, consider the room’s ability to withstand physical stress. Reinforced walls and sturdy flooring are essential for a functional smash room. For more tips on transforming spaces, explore our multifunctional space ideas.
| Criteria | Details |
|---|---|
| Available Area | Ensure the space is large enough for activities. |
| Building Condition | Check for structural integrity and durability. |
| Isolation | Choose a location away from high-traffic zones. |
| Physical Stress | Evaluate the room’s ability to withstand damage. |
How to Turn an Unused Shed or Basement into a DIY Smash Room
Transforming an overlooked space into a stress-relief zone is easier than you think. Whether it’s a garage, shed, or basement, the process involves a few key steps to ensure functionality and safety.
Start by clearing out any clutter. A clean, open area is essential for heavy-impact activities. Remove unnecessary items and ensure the space is free from hazards. This step sets the foundation for a safe and effective smash room.
Next, focus on durability. Choose materials that can withstand repeated impact. Reinforced walls, epoxy flooring, and protective coverings are excellent choices. These additions reduce damage and extend the life of your space.
Equip your room with the right tools. Hammers, sledgehammers, and bats are popular choices for smashing activities. Ensure these items are stored safely when not in use. Proper equipment enhances the experience while minimising risks.
Safety is paramount. Install barriers to contain debris and protect surrounding areas. Use safety gear like goggles, gloves, and helmets to prevent injuries. A well-prepared space ensures a controlled and enjoyable experience.
- Clear the area of clutter and hazards.
- Choose durable materials for walls and flooring.
- Equip the space with appropriate tools and equipment.
- Install safety measures to contain debris and protect users.
For more detailed guidance on transforming spaces, explore our comprehensive tips. With these steps, your unused space can become a functional and therapeutic escape.
Planning Your Layout and Design
Designing your own stress-relief space starts with careful planning and creative ideas. A well-thought-out layout ensures your smash room is both functional and visually appealing. Begin by assessing the available area and deciding how to best utilise it.
Space Measurements and Layout
Accurate measurements are crucial for creating an efficient layout. Start by recording the length, width, and height of the room. This helps you determine how much space you have for different activities.
Divide the room into zones for specific purposes. For example, dedicate one area for smashing and another for storing tools. Ensure there’s enough clearance around each zone for safe movement. A minimum of 30 inches is recommended for traffic paths.

Consider the placement of furniture and equipment. Leave at least 24 inches behind chairs and 14-18 inches between a sofa and coffee table. These details ensure a comfortable and practical setup.
Incorporating Customised Themes
Personalising your smash room with a unique theme adds character and enhances the experience. Choose a design that reflects your personality or intended ambience. For example, a neon graffiti theme can create a vibrant atmosphere, while a minimalist design offers a calming effect.
Lighting plays a key role in setting the mood. Opt for adjustable fixtures to control brightness levels. Combine functional lighting with decorative elements like LED strips for a dynamic look.
Protective features like reinforced walls and durable flooring are essential. They not only ensure safety but also contribute to the overall aesthetic. Use epoxy coatings or rubber mats for a sleek finish.
| Design Element | Recommendation |
|---|---|
| Space Measurements | Ensure 30 inches for traffic paths and 24 inches behind chairs. |
| Lighting | Use adjustable fixtures and decorative LED strips. |
| Wall Protection | Install reinforced panels for durability and safety. |
| Flooring | Choose epoxy coatings or rubber mats for a sleek finish. |
| Theme | Select a design that reflects your personality and ambience. |
For more inspiration on transforming spaces, explore our basement workshop ideas. With these tips, you can create a functional and visually appealing smash room tailored to your needs.
Selecting Materials, Equipment and Safety Gear
Creating a safe and effective smash room starts with choosing the right materials and equipment. The items you select will determine the functionality and safety of your space. From durable breakable objects to protective gear, every thing plays a crucial role.
Essential Tools and Breakable Items
When setting up your smash room, the tools and breakable items are the heart of the experience. Sledgehammers, bats, and crowbars are popular options for smashing activities. Ensure these tools are sturdy and easy to handle.
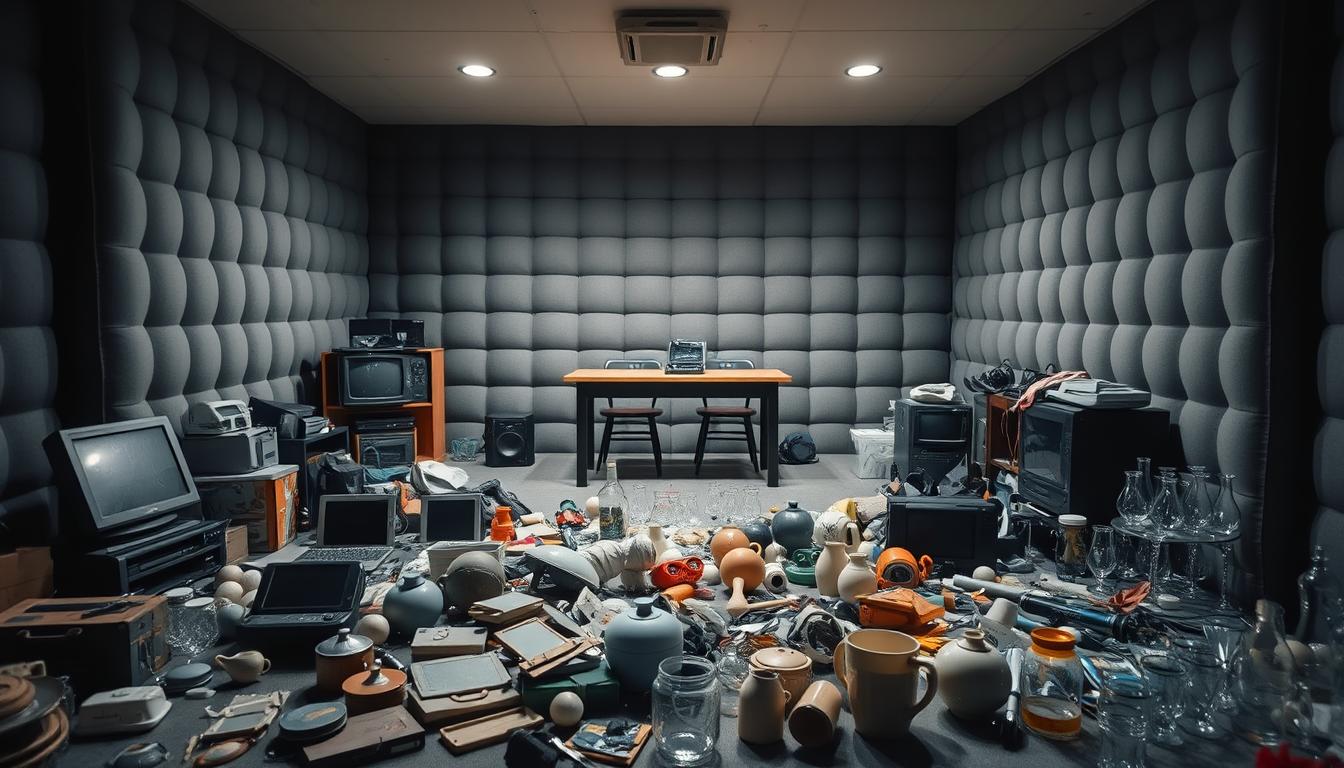
For breakable items, choose objects that are safe to destroy yet satisfying to smash. Old electronics, glass bottles, and ceramic plates are excellent options. Avoid items that could create hazardous debris or sharp fragments.
Protective Coverings and Safety Equipment
Safety is paramount in a smash room. Protective coverings like drop cloths and reinforced walls help preserve the space and contain debris. Use durable materials such as epoxy flooring or rubber mats to minimise damage.
Equip yourself with essential safety gear. Safety goggles, gloves, and helmets are non-negotiable. These items protect you from injuries and ensure a controlled experience. For more detailed guidance, explore our DIY demolition tips.
| Item | Purpose |
|---|---|
| Sledgehammers | Primary tool for smashing activities. |
| Safety Goggles | Protect eyes from debris and fragments. |
| Drop Cloths | Contain debris and protect flooring. |
| Reinforced Walls | Durable surfaces to withstand impact. |
| Epoxy Flooring | Resistant to damage and easy to clean. |
When designing your smash room, consider the layout of safety gear stations and storage for materials. A well-organised space enhances functionality and ensures everything is within reach. Choose quality items that align with your needs and budget.
Finally, follow practical usage tips to set up your space correctly. Test each tool and piece of equipment before use. Ensure every thing is in place for a safe and enjoyable experience.
Constructing a Safe and Functional Smash Room
Ensuring your stress-relief zone is both safe and functional is essential for a rewarding experience. A well-designed space not only protects you but also enhances the overall effectiveness of your activities. Let’s explore how to prepare your room and optimise its durability for high-impact use.
Preparing the Room and Installing Barriers
Start by reinforcing structural weaknesses in your chosen space. Inspect walls, ceilings, and floors for cracks or damage. Use reinforced materials like concrete blocks or plywood with steel sheathing to strengthen these areas. This ensures the room can withstand repeated impact.
Install physical barriers to protect both users and the surrounding area. Heavy-duty drop cloths or reinforced panels can contain debris and prevent damage to adjacent spaces. Ensure these barriers are securely anchored to avoid movement during use.

Optimising Wall and Floor Durability
Enhance wall durability with protective coatings like epoxy or rubber linings. These materials resist damage and are easy to clean. For flooring, consider epoxy coatings or rubber mats, which provide both durability and slip resistance.
Secure all objects within the room to prevent unintended damage. Use brackets or fasteners to anchor furniture and equipment. This ensures a controlled environment where you can focus on stress relief without worrying about hazards.
- Reinforce structural weaknesses with durable materials.
- Install barriers to contain debris and protect surrounding areas.
- Use protective coatings for walls and flooring to enhance durability.
- Secure all objects to prevent unintended damage during use.
By prioritising safety and durability, you can create a functional and enjoyable space tailored to your needs. Follow these steps to ensure your smash room is both robust and secure.
Designing the Perfect Ambience
Crafting the ideal environment for stress relief involves more than just physical space. The right ambience can transform your smash room into a therapeutic escape, helping you channel anger and frustration into something productive. From lighting to sound systems, every piece of the design plays a role in creating an immersive experience.
Lighting and Sound Systems
Lighting sets the mood in your smash room. Opt for adjustable fixtures that allow you to control brightness levels. Combine functional lighting with decorative elements like LED strips for a dynamic look. A well-lit space enhances safety while adding to the overall atmosphere.
Sound systems are equally important. Choose speakers that deliver clear, high-quality audio. Playlists with energetic or calming tracks can help you focus and release tension. Ensure the volume is adjustable to suit your mood and activity level.
Decorative Themes for the Smash Room
Personalising your space with a unique theme adds character and enhances the experience. Consider designs that reflect your personality or intended ambience. For example, a neon graffiti theme can create a vibrant atmosphere, while a minimalist design offers a calming effect.
Incorporate decorative pieces like wall art, posters, or even graffiti murals. These accents bring the space together aesthetically, making it feel cohesive and inviting. Choose materials that are durable and easy to clean, ensuring they withstand the high-impact nature of the room.
Creating a Stress-Relief Atmosphere
The design of your smash room should help reduce anger and alleviate frustration. An immersive atmosphere encourages you to focus on the activity, leaving stress behind. Ensure everything in the space works together harmoniously to promote a relaxing yet energising experience.
Use colours and textures that evoke positive emotions. Warm tones like red and orange can energise, while cooler shades like blue and green promote calmness. Add soft furnishings like cushions or rugs for comfort, balancing the room’s intensity.
| Element | Recommendation |
|---|---|
| Lighting | Adjustable fixtures with LED strips for dynamic effects. |
| Sound System | High-quality speakers with adjustable volume. |
| Decorative Themes | Neon graffiti or minimalist designs for personalisation. |
| Colour Palette | Warm tones for energy, cool tones for calmness. |
Budgeting and Cost Considerations
Planning your smash room project involves careful budgeting to ensure quality without overspending. Understanding the cost involved is crucial for a successful transformation. From materials to safety measures, every aspect requires financial planning.
Estimating Initial Setup and Operational Costs
Start by calculating the total cost of converting your space. This includes materials, tools, and labour. For example, reinforcing walls and flooring can range from £1,500 to £3,000, depending on the size of the room.
Consider the number of materials needed. Bulk purchasing can reduce expenses, while second-hand items offer budget-friendly alternatives. Always remember to allocate funds for safety equipment like goggles and helmets.
| Item | Cost Range |
|---|---|
| Reinforced Walls | £1,500 – £3,000 |
| Epoxy Flooring | £800 – £1,500 |
| Safety Gear | £100 – £300 |
| Tools (Hammers, Bats) | £50 – £200 |
Sticking to a budget doesn’t mean compromising on quality. Prioritise essential features like durable materials and safety measures. For example, investing in reinforced walls ensures long-term durability, reducing future repair costs.
Here are some tips to keep expenses in check:
- Source second-hand tools and materials to save money.
- Bulk purchase items like protective coverings to reduce costs.
- Allocate a contingency fund for unexpected expenses.
When planning your budget, remember to account for operational costs like maintenance and replacements. A well-planned financial strategy ensures your smash room remains functional and enjoyable for years to come.
Maintenance and Future Improvements
Maintaining your stress-relief space ensures it remains safe and functional for years to come. Regular checks and upgrades are essential to prevent wear and tear, especially in high-impact environments. By addressing minor issues early, you can avoid costly repairs and extend the lifespan of your smash room.
Routine Checks and Upgrades
Conducting routine inspections helps identify potential problems before they escalate. Check walls, flooring, and equipment for signs of damage, such as cracks or wear. Replace any item that shows significant deterioration to maintain safety and functionality.
Create a maintenance schedule to stay organised. Weekly checks can include inspecting tools and protective gear, while monthly reviews might focus on structural integrity. This proactive approach ensures your space remains in top condition.
If your smash room is used for business purposes, consider additional measures. Regular audits of safety protocols and equipment can help meet commercial standards. Keeping detailed records of maintenance activities also demonstrates professionalism and care.
Future upgrades can enhance both performance and durability. For example, installing advanced lighting or sound systems can improve the ambience. Upgrading to more durable materials, like reinforced walls or epoxy flooring, ensures the space can withstand heavy use.
| Maintenance Task | Frequency |
|---|---|
| Inspect tools and equipment | Weekly |
| Check structural integrity | Monthly |
| Replace damaged items | As needed |
| Audit safety protocols | Quarterly |
Identifying when improvements are needed is crucial. Look for signs like increased wear on flooring or outdated equipment. Addressing these issues promptly ensures your smash room continues to provide a safe and enjoyable experience.
By prioritising maintenance and planning for future upgrades, you can keep your stress-relief space in excellent condition. This approach not only enhances safety but also ensures the room remains a valuable asset for years to come.
Conclusion
Creating your own stress-relief space is a rewarding activity that combines creativity with practicality. By repurposing an unused area, you can design a unique zone to release tension and manage stress effectively. This project offers a way to channel emotions productively while enhancing your home’s functionality.
From assessing the space to selecting durable materials, each step ensures safety and quality. Planning your layout and incorporating safety measures are essential for a functional environment. Remember, every activity requires careful preparation to avoid risks.
Consider your own space and the way you can transform it into a stress-relief haven. Whether it’s a garage or an overlooked corner, the possibilities are endless. Take the time to plan and execute your project responsibly.
Ready to start? Embrace this creative activity and turn your space into a functional, energising escape. With the right approach, you’ll have a personalised zone that supports your well-being for years to come.